A North American customer required an inspection of a dual-diameter pipeline owned and operated by the energy player – this was part of their overall global integrity program. The line, approximately 1,800 km in length, and required axial cracking and metal loss inspection. The pipeline consisted of 29 sections of varying lengths. However, a particular challenge was posed by the fact that it featured both 36” and 48” diameters, creating a 33 percent variation. In addition, further boundary conditions, such as tight 1.5D bends, had to be taken into account. To ensure a smooth processes and first run success.

Case Study
Inspecting a Dual-Diameter Pipeline in a Single Run
The Challenge

The Solution
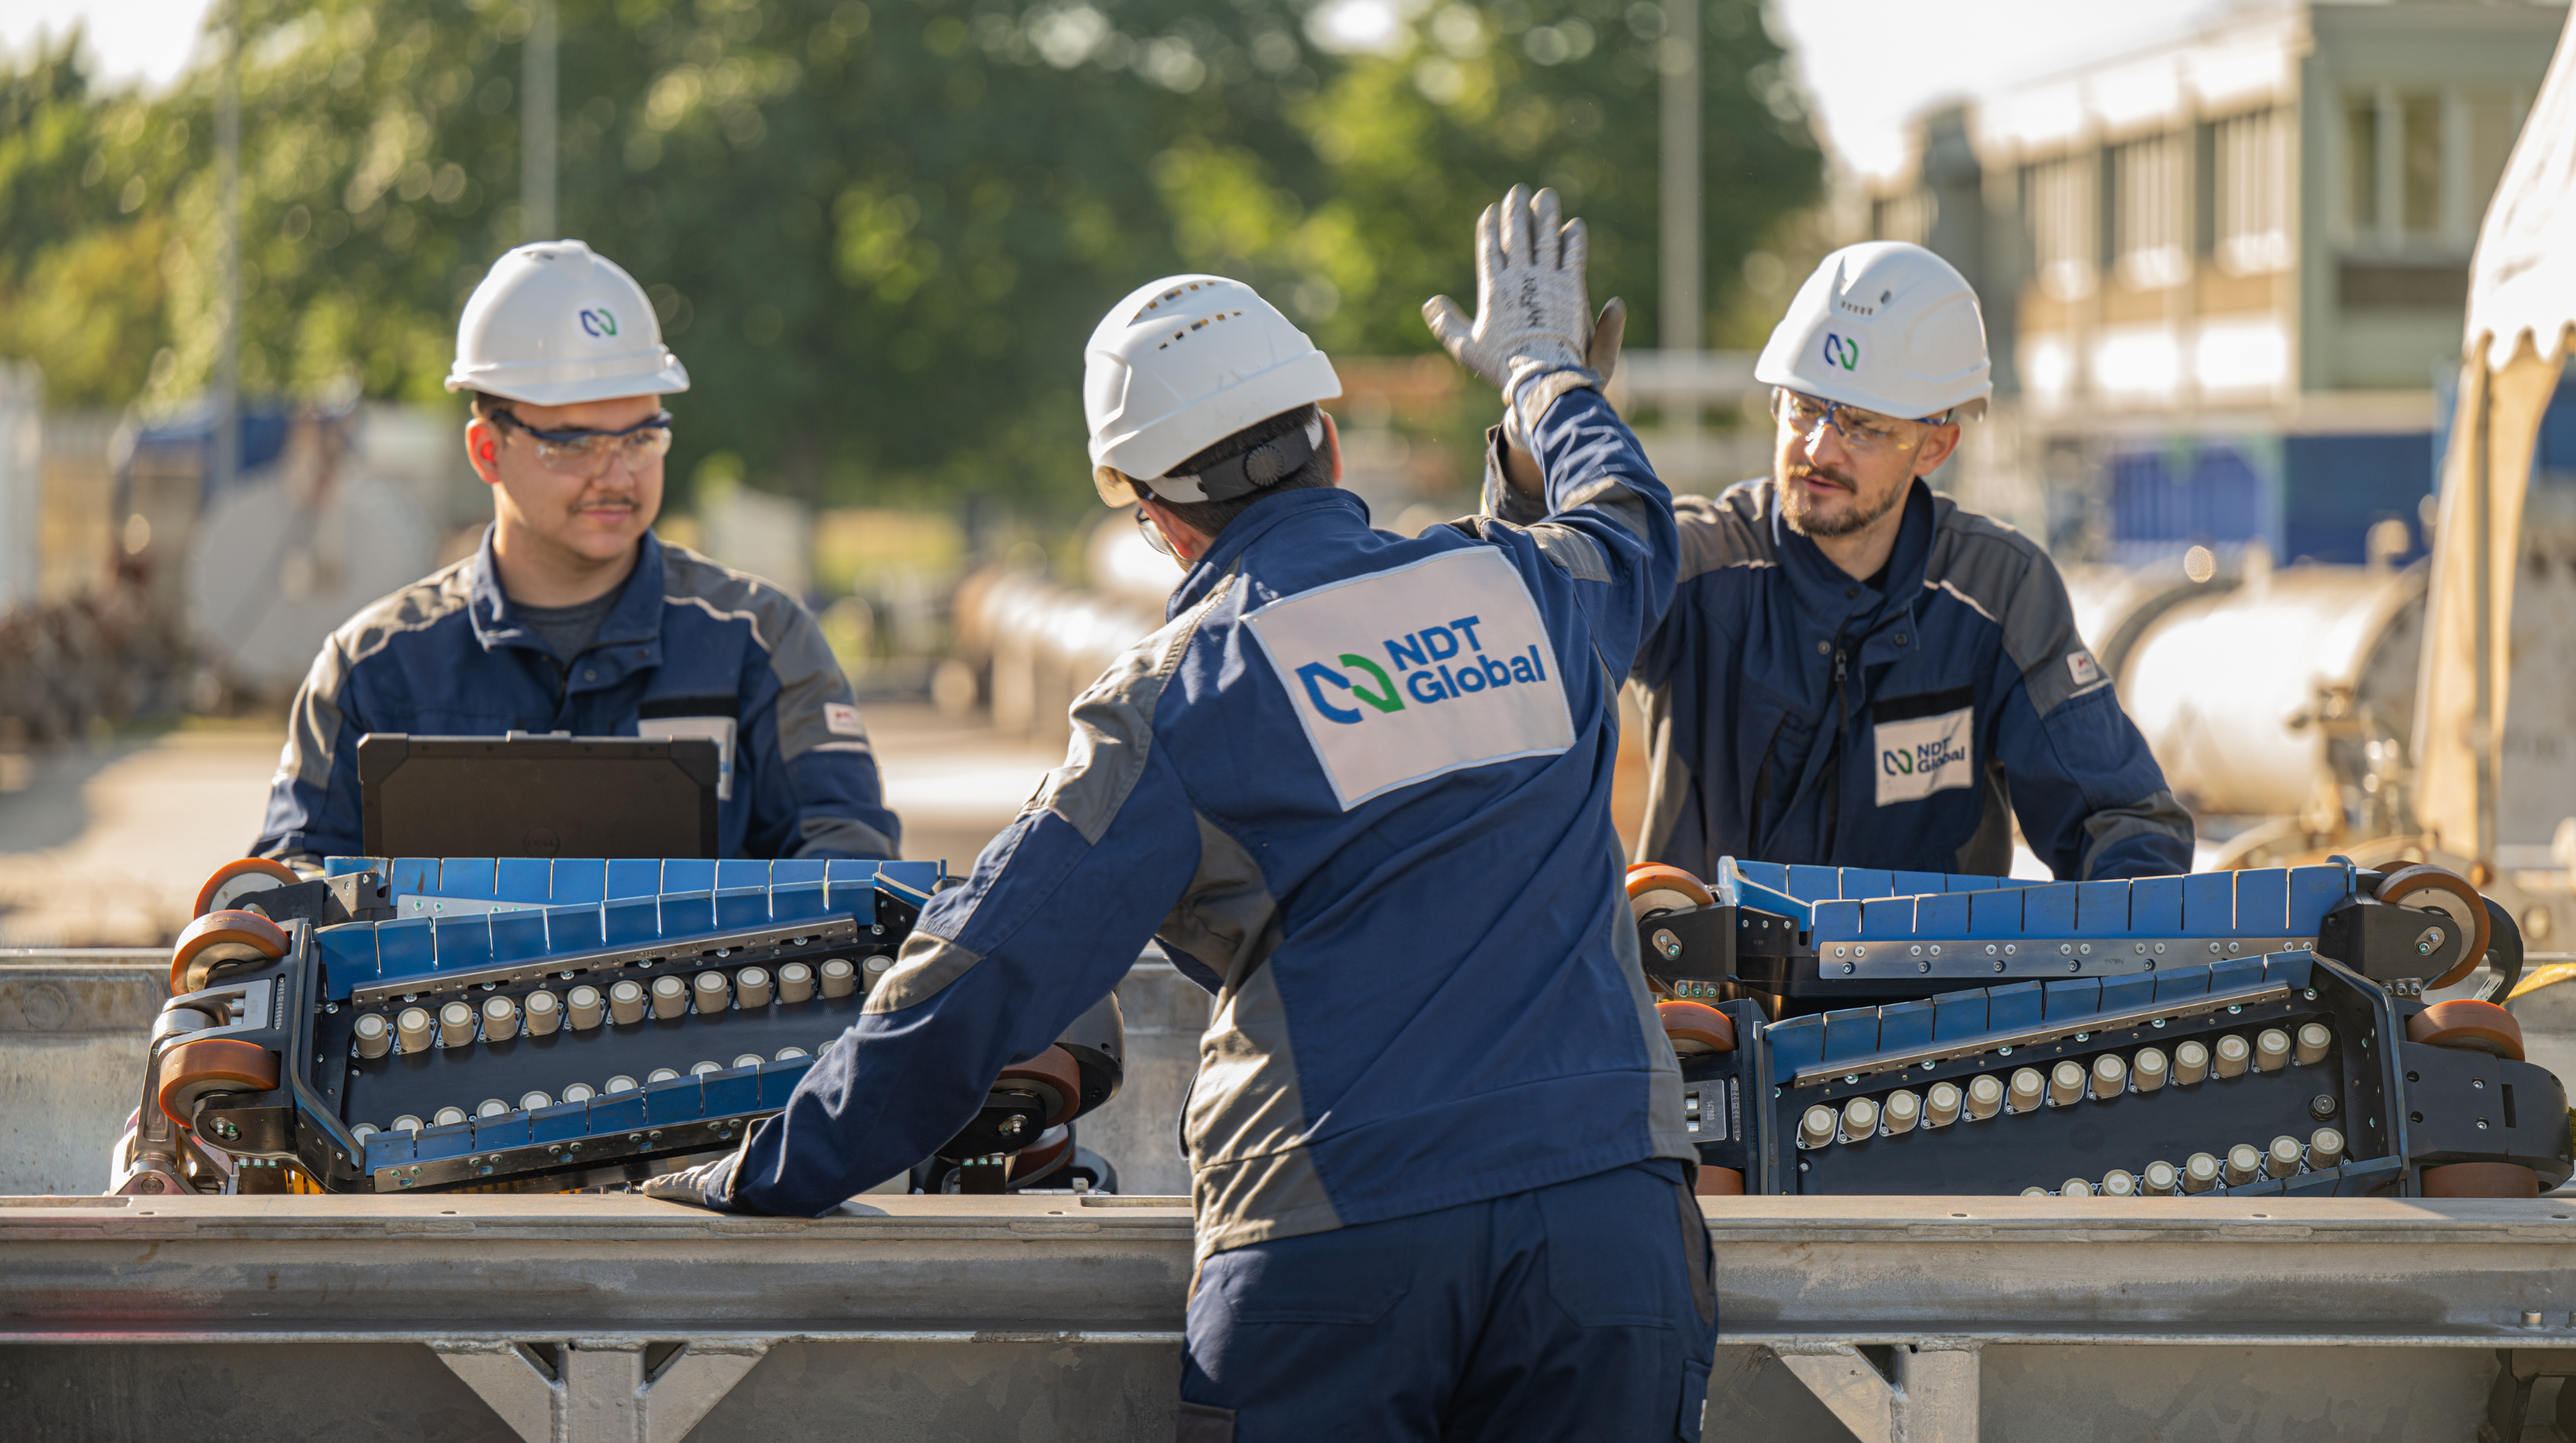
Both the pipeline operator and inspection engineers worked hand in hand to design, build, and test a multi-diameter ultrasonic tool to fulfill these specific requirements. This was the first ultrasonic tool developed that was capable of detecting both metal loss and cracks in a 36”/48” pipeline in a single run. Its aim: to deliver data on both types of feature in a single data set, streamlining analysis and classification of anomalies. To perfect the equipment before it was deployed in real-world conditions, a series of pull-tests were conducted in a 36”/48” line at NDT Global’s facility in Stutensee.

The Results
Successful single-run inspection of dual-diameter pipeline
Comprehensive data on metal loss and cracking in multiple diameters collected in a single data set


Discover the Power of Clarity™.
Whether you’re ready to schedule an inspection or have questions about our process, our team can help get you started.
Contact Us© Copyright 2026. NDT Global. All Rights Reserved.