A 40" pipeline over 400 km (250 miles), that is integral to its operatorAn entity or organization responsible for the operation, management, and maintenance of a pipeline system. The operator is entrusted with ensuring the safe, rel…’s services, required in-depth ILI. As part of the operator’s ongoing integrity management programA documented set of policies, processes, and procedures implemented by operators to ensure the safe, reliable, and efficient operation of pipelines throughout t…, it conducts cyclical crack and corrosion inspections. Due to an existing relationship and trust in its data accuracy, the customer utilized NDT Global’s new highest resolution ultrasonic crackA fracture or discontinuity in the wall of a pipeline, where the material is separated or broken, potentially compromising the integrity and safety of the pipel… and metal lossRefers to the reduction in material thickness or cross-sectional area of a pipe due to corrosion, erosion, or other forms of degradation. inspections services. This pipeline operates at high capacity and has minimum throughput requirements to meet, even during inspectionThe systematic process of visually examining, testing, or monitoring pipeline components to assess their condition, integrity, and compliance with regulatory re…, which presented a challenge for an ILI.
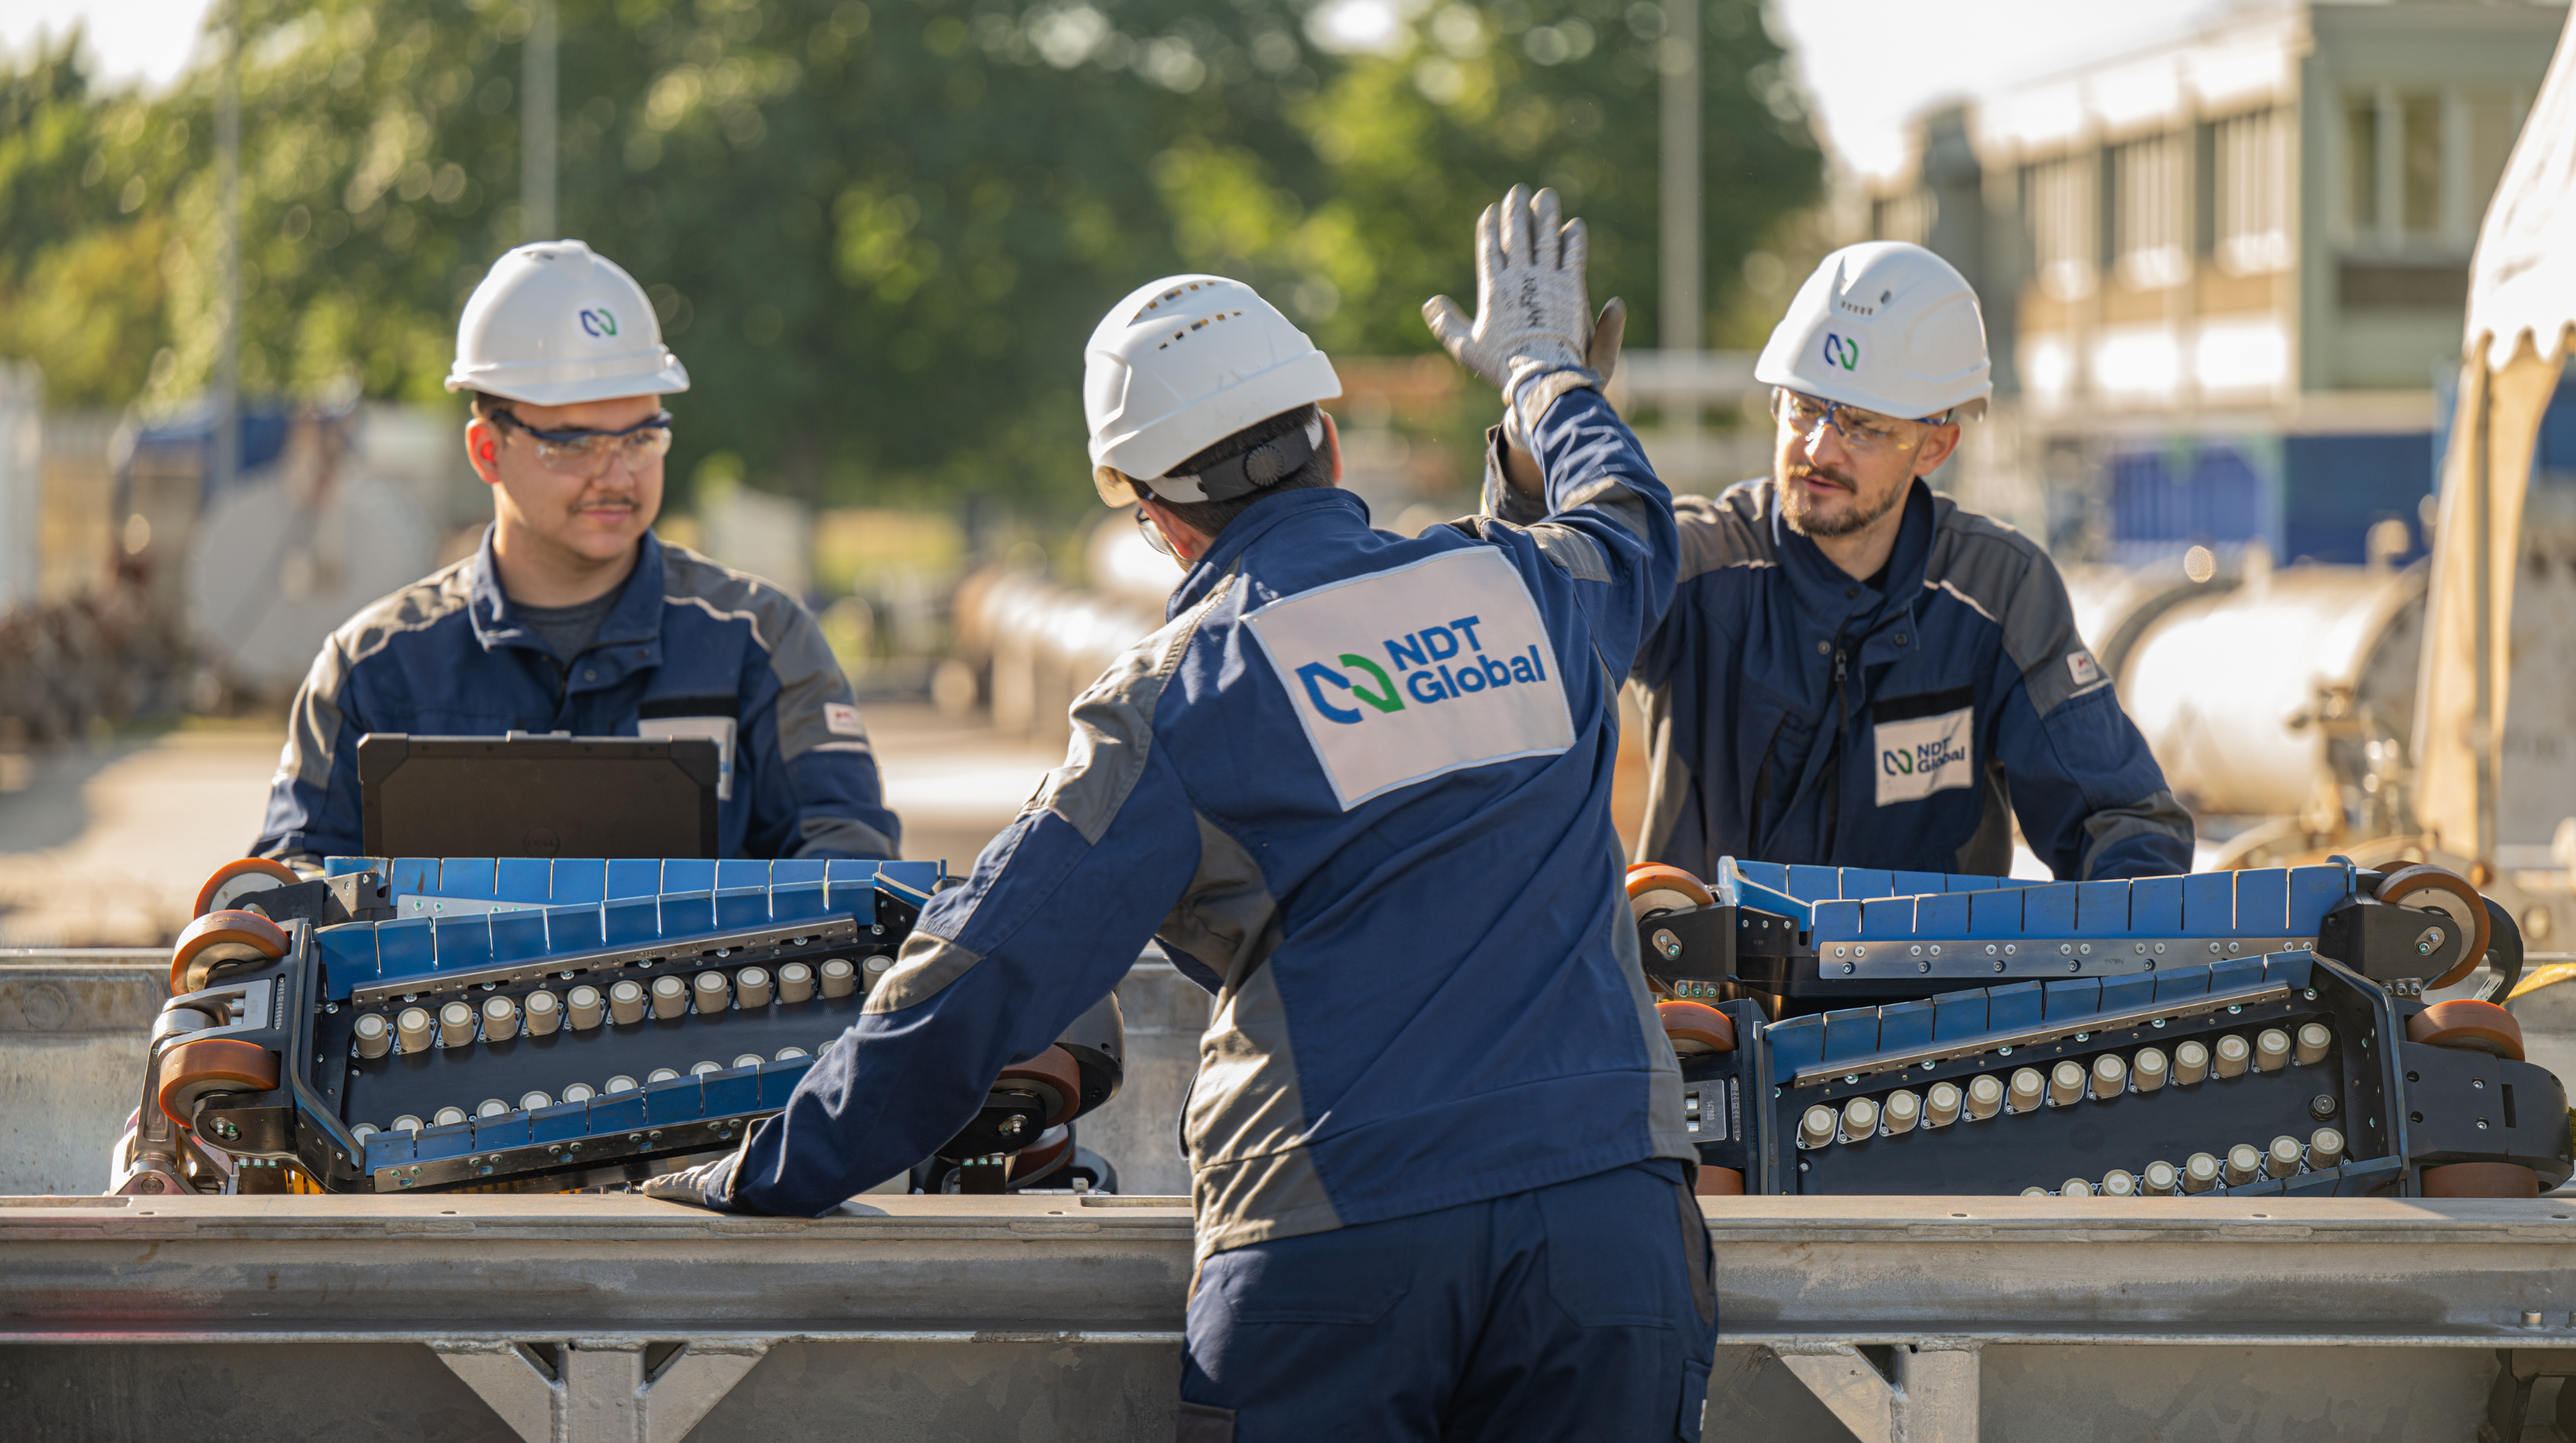
In order to protect the environmentSurroundings or conditions (physical, chemical, mechanical) in which a material exists. The environment plays a significant role in pipeline design, constructio…, the operatorAn entity or organization responsible for the operation, management, and maintenance of a pipeline system. The operator is entrusted with ensuring the safe, rel… must explore and leverage advances in technology to provide better quality pipeline integrityThe capability of a pipeline to perform its intended function safely and reliably throughout its life. It includes a range of factors, including the structural … information. NDT Global completed tests to evaluate if doubling the axial and circumferentialAn event that occurs or is measured along the circumference of a pipeline. It implies the direction or orientation that is perpendicular to the longitudinal axi… resolution would lead to more reliable corrosionThe deterioration or degradation of a pipeline caused by chemical or electrochemical reactions with its environment. Corrosion is a significant concern as it ca… and crackA fracture or discontinuity in the wall of a pipeline, where the material is separated or broken, potentially compromising the integrity and safety of the pipel… featureGeneral term for an anomaly detected during an assessment. Features can be anomalies, components, nearby metallic objects, welds, appurtenances, or some other i… identifications respectively. The operator delivered a spool of pipe to the testing yard at NDT Global where pull tests were performed at these higher-resolutions. The test pipe included a range of small pittingLocalized corrosion of a pipeline's metal surface, resulting in small, localized pits or cavities. corrosions with diameters in the lower range of the toolGeneric term signifying any type of instrumented tool or pig. performance specifications.
NDT Global demonstrated the Evo Series ultrasonic metal lossRefers to the reduction in material thickness or cross-sectional area of a pipe due to corrosion, erosion, or other forms of degradation. inspectionThe systematic process of visually examining, testing, or monitoring pipeline components to assess their condition, integrity, and compliance with regulatory re… toolGeneric term signifying any type of instrumented tool or pig.'s capability to detectTo sense or obtain a measurable indication from a feature.
and size challenging small pittingLocalized corrosion of a pipeline's metal surface, resulting in small, localized pits or cavities. corrosions, down to 5 mm (0.2 in.) in diameter. Also, to combat the threat posed by cracks or crackA fracture or discontinuity in the wall of a pipeline, where the material is separated or broken, potentially compromising the integrity and safety of the pipel…-like anomalies, NDT Global illustrated the sizing capabilities and specifications of its ultrasonic crack inspection tool with highest resolution. Pipeline integrityThe capability of a pipeline to perform its intended function safely and reliably throughout its life. It includes a range of factors, including the structural … must be safeguarded while transporting crude oil at almost maximum throughput. Normal transmission speed is approximately 2 m/s (4.47 mph). During short windows of scheduled maintenance, speed can be reduced, but no lower than 0.9 m/s (2 mph). This is not an issue with older technologies or even standard ultrasonic technology (UT)Systems used in non-destructive testing that utilize sound waves to detect, identify, and measure anomalies within a pipeline integrity test or management progr… but it is a challenge for the extremely high resolutions that the operatorAn entity or organization responsible for the operation, management, and maintenance of a pipeline system. The operator is entrusted with ensuring the safe, rel… was seeking.


