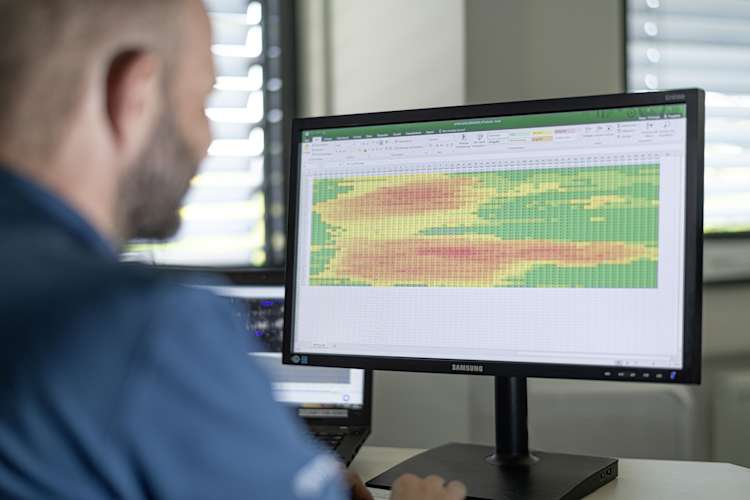
Thomas Meinzer, Head of Analytics & SME, touches on the five key benefits that operators receive from investing in NDT Global's Ultrasonic Metal Loss solution.
1. The probability of detection (POD) is greater or equal to 90%:
With exceptional detection capabilities, the ultrasonic metal loss inspection solution detects metal loss features that are as small as 5.0 mm (0.2 in.) in diameter. It also reliably detects features that start at a depth of 0.8 mm (0.03 in.).
2. Inline inspection tools detect diverse lamination types:
The high-resolution metal loss data acquired from the tool is analyzed by highly qualified engineers who differentiate between diverse lamination features, i.e. sloping or surface breaking laminations.
3. Detection of several anomalies measure within a small surface area:
An axial resolution starting at 0.75 mm (0.03 in.) for an ultrasonic metal loss solution is recorded – this makes it possible to detect a high number of measurements within a small surface area to ensure that tiny pitting and pinhole anomalies are accounted for within recorded data.
4. Direct measurement principal provides accurate depth sizing:
The direct measurement principle provides a depth sizing accuracy of ±0.4 mm (±0.02 in.) within all common wall thickness ranges. The depth sizing accuracy is consistent whether in thin wall pipes or in thick wall pipes and guarantees precise pressure assessment calculations across different pipe sections.
5. Can be combined with other inspections to provide greater insight into anomalies:
Nearly 70% of ultrasonic metal loss reports are combined with two or more inspections for a greater, more detailed analysis report. This leads to a best possible assessment of a pipeline's condition.

